Pages

Wednesday, April 1, 2015

Dinig Hutch Makeover


Isn't she pretty?  This is by far one of my favorite makeovers so far!  It definitely took a lot more time than I expected but it was well worth it!  I was really on the hunt for something for this space and I knew I wanted something with both exposed and hidden storage.  When I found this hutch on Craigslist and saw the dimensions, I knew it would be perfect!  It's narrow, but deep enough to display my Pottery Barn mason jar dispenser!  Here is the Craigslist picture...


I ended up snagging it for $65... I was literally so excited because I love a deal!


When I got it home and in place I knew I wanted to go with a super light paint color for it because it just looked so dark and blah..


I knew this would be difficult to sand and it was so cold out I didn't want to be sanding outside so I ended up using my "go to" Bullseye 123 Primer which sticks to everything! 


After one coat of that I used my Americana Décor Chalk Paint in the Cover Everlasting and got to painting!


So this is when I decided I needed to come up with something for the back of the top piece.  It is plywood and it wasn't taking the paint how I wanted.  So first I was thinking about planking it with 1x3's, but then I came up with using cedar shims...yes shims...We used a lot of these during construction and I always thought they were too pretty to be shoved under uneven floor boards.  So I went to home depot and picked up 2 packs, which cost me a grand total of $8.  I didn't take any pictures through this part because I honestly was so unsure of it the whole time I was doing it, I thought I had ruined the whole thing!


Here is what it looked like after I was done...


I weaved them in so there weren't straight lines going through, so for the first column every other piece was cut in half.  I used wood glue to secure them and for a few of the stubborn ones I actually stapled them to the back piece of plywood.  I ended up doing a trim piece on both ends to finish it off!  I love the texture it gave and I also thought all my white serving pieces would really pop against the natural cedar color!


Next, I put the doors back on and added some hardware.  These knobs are from Hobby Lobby and they look like beach wood so they went perfectly with this piece.  I chose not to put knobs back on the top doors to keep it more simple and crisp looking.


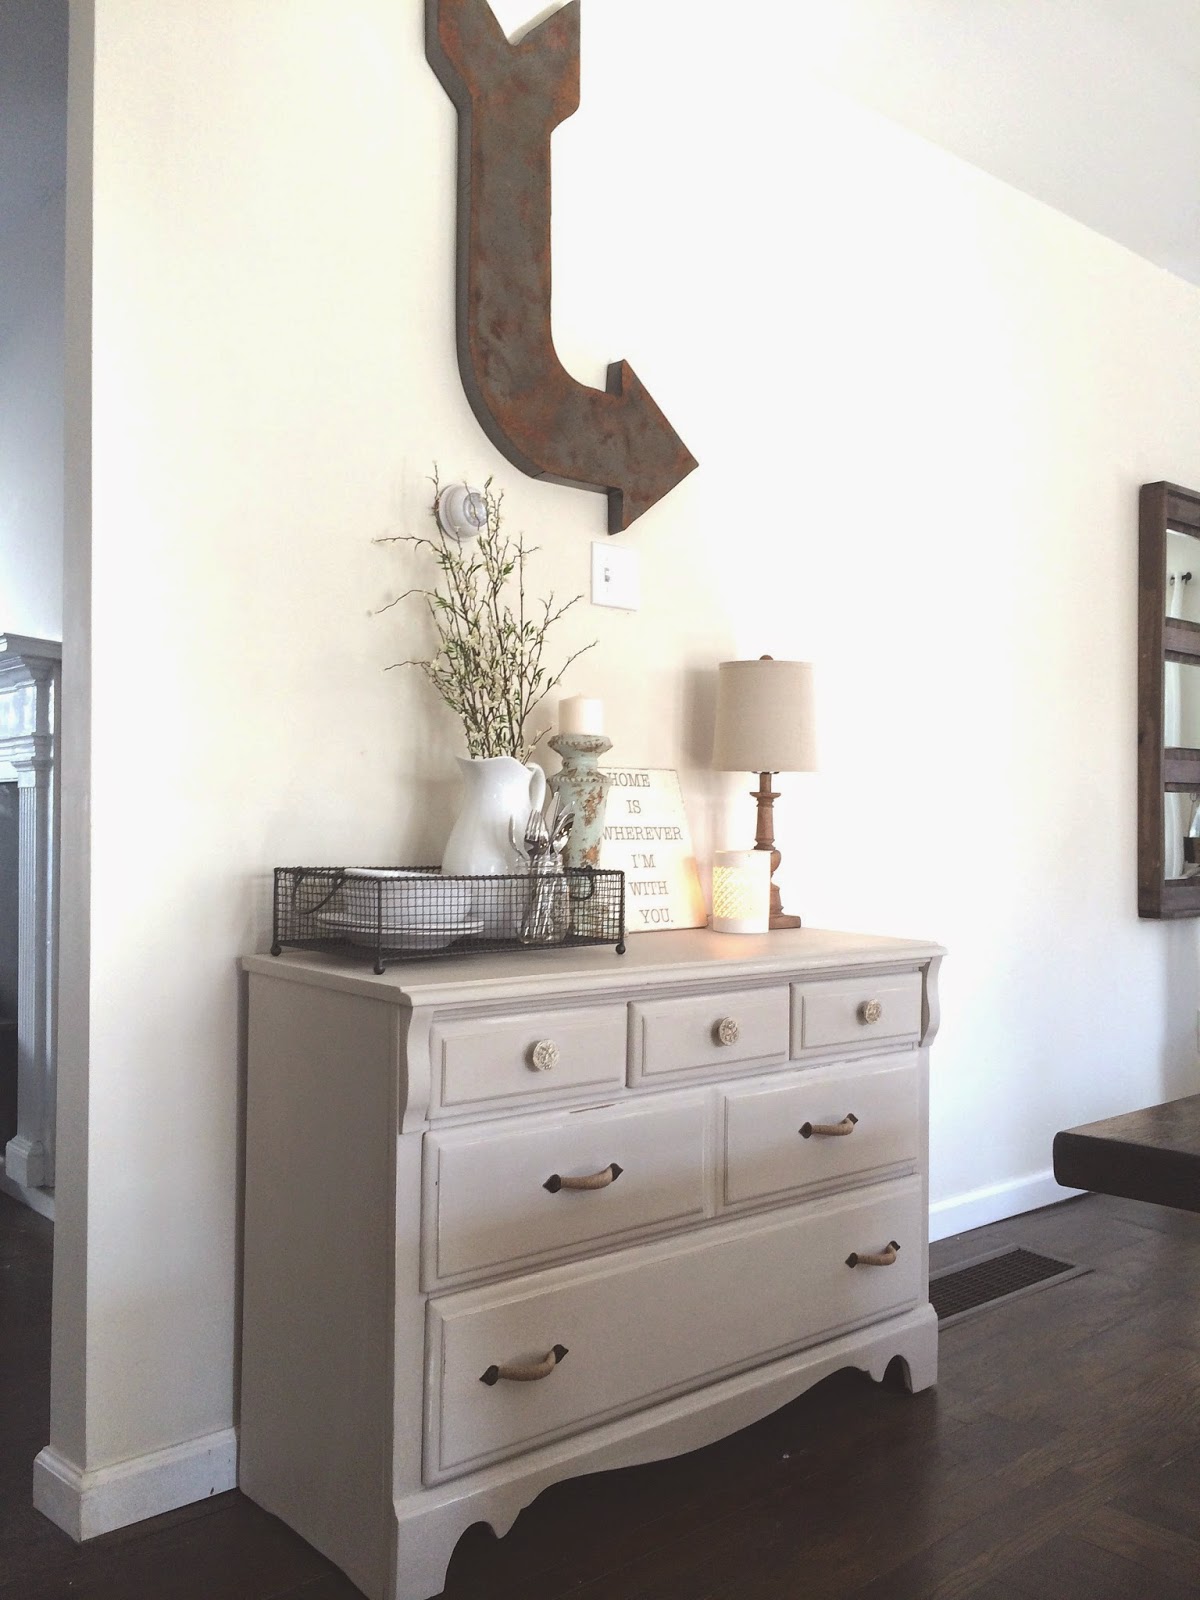
Finally I got to style it with a mixture of serving pieces and cute little goodies! 

One thing I also did before I painted that you can see here is I put a 1x3 around the bottom as a trim piece because I thought the original trim really dated it!


Here is a close up of the top!


I am Pellegrino obsessed!  I think these bottles are the perfect color and add such a nice touch!
So this is where you may look at me like I'm crazy and the reason I needed some closed storage.  I constantly need my screw guns, or my nail gun, or I am painting something, and we don't have a garage, so I wanted someplace to store my tools and paint tools that I use often.


I know it's pretty odd but considering I'm always working on something it was so necessary!
Hope you guys like it!

Knobs : Hobby Lobby
Burlap Candle Holders : Hobby Lobby
Ampersand : Michaels
Apothecary Jar : Hobby Lobby
Flowers: Michaels
Mason Jar Dispenser & Stand : Pottery Barn
Pitcher : Pottery Barn
Mason Jar Crate : Hobby Lobby


Monday, February 16, 2015

Upstairs Bathroom


Hey guys!  This weekend we decided to tackle our upstairs bathroom.  It was definitely the most unfinished room in the house so far.  It has come a long way since we bought the house...you'll see!  Originally, this space was a "bedroom" upstairs, and then there was a small powder room (that's being generous)But, we decided we needed a full bath upstairs.  We ended up completely taking out the old bathroom and moving it across the hall into the bedroom (luckily we have a friend who is a plumber).
 
Here are some pictures of the bathroom that we tore out...I'm warning you it's not pretty!


I know, it was pretty bad!  Here are some before pics of the bedroom space across the hall.


The floors were pine in the bathroom but they were too damaged to salvage.


Holy paneling!  It definitely wasn't pretty but I saw the potential with the big windows!  Here are some pictures of the progress during construction...


So once all the major construction was done we picked out a vanity, vanity top, faucets and some light fixtures.  We got the vanity at Bargain Outlet, the vanity top at Lowes, the faucets are Delta and the lights from Lowes

We decided we wanted to do custom wainscoting rather than buying panels. For the wainscoting we used 1x4's for the horizontal boards and 1x3's for the vertical boards.  We went 57" up from the floor for the horizontal boards and we spaced the vertical boards 15" apart.  We used our Ryobi brad nailer to secure all of the boards in place.  To make it the most secure we put most of the nails into studs.  After the boards were attached we taped everything off and got our first base coat of bullseye 1-2-3 primer on all of the boards. Once it was all up and primed Josh went around and caulked all the joints and nail holes.  Priming first allows you to see all of the imperfections in the wood and helps you see all of the gaps that stand out.  We wanted this wainscoting to really look like one piece on the wall so we spent a lot of time really doing a great job of caulking. After we caulked everywhere we took our hand sander and sanded all of the boards and walls before applying the ultra pure white paint.  A few more dabs of caulk and it was time to remove the tape!

Painting the vanity was a little tricky because ours is not solid wood.  I wouldn't have painted it except we bought the top and bottom separately and they were different shades of white which was driving me nuts.  So  I started by taking all of the drawers out and the doors off.  Next I sanded it a little so I had a good surface to work with!  Next I primed it with the same bullseye 1-2-3 primer to make sure the paint would really stick.  Then I painted it with a grey chalk paint I got...total fail... the color clashed completely with the wall color.  So I sanded it down again and topped it with two coats of white paint.  The grey is still showing through but I have to say I kind of like it!

Here are some pictures from while we were working!

 
When we moved in I painted the walls a greige (which is the bottom color) but I wasn't crazy about it.


Now the best part!  The after pictures!


The bath mat is Rocky and Sophie approved!


I really like to keep bathrooms simple and "empty"...There are definitely a few more finishing pieces I'm going to add and maybe a storage piece but for now I'm really happy with how it's turned out! Hope you guys like it!


Wall Color: Sherwin Williams Silver Strand
 
Clock: Target
 
Towels: Homegoods
 
Hooks: Lowes
 
Shower Curtain:  Homegoods
 
Bath Mats: Homegoods
 
Shelf: I made it myself!
 
Basket: Homegoods
 

Mirros: Kirklands

Hardware: Homedepot

Wednesday, February 4, 2015

DIY Simple Cute Key Hook


This key hook is an easy project anyone could do!  When we moved in I bought your standard key hooks but because our entry is right in our family room I decided to look for something more visually appealing!  I was walking through Home Depot one day and I found these numbered hooks for just $6 and I thought they would be perfect!


So I started with a 1x4 piece of scrap wood we had that was about 16" long and I painted it with some light grey paint I had...


Here's what the hooks look like...


Then once the paint was dry I got everything together I needed to mount it...


Luckily where I was mounting it there were studs, so I screwed the piece of wood directly into the studs with 2" screws.  Once I felt like it was secure, I did a small layer of wood putty over the screws.  I let that dry, sanded it down and hit it with another coat of the grey paint.  Finally, I screwed the hooks to the piece of wood with 1" screws.  I really just eyeballed the spacing.  Here's how it turned out!


Sunday, February 1, 2015

Craigslist Dresser Redo


I have been on the hunt for a great storage piece for my dining room.  I love the look of open storage but sometimes it's not realistic.  I found this dresser on Craigslist and I saw such potential in it! 


So here is what it looked like before...


So it definitely needed a little love.  The first step is to remove all the hardware and sand it down, that way you are working with a smooth surface and the paint will adhere better.  This will make a mess so make sure you do it outside...


Unless you're planning on staining then just a quick sanding will do, sometimes its hard to get into the detailing but just do your best!  Next we used wood putty to fill the old hardware holes because I was changing the hardware.  This takes about an hour to dry and then you just sand it down with a sanding block until it's flat and smooth.


I'm not big on priming because I normally distress the piece after I'm done and I think it comes out better without a layer of primer.

For the paint I tried a new technique and I am OBSESSED!!

I used Americana Decor Chalk Paint...


This paint has a really matte and rustic looking finish.  So first I did a layer of the color "Everlasting"  which is like an off white and then I did a coat of "Primitive" which is like a grey/brown.  This paint has a very thick consistency and dries super fast so I suggest only using a brush.  After it dried I did a little distressing with a sanding block to expose the layers underneath and here's what it looked like...


To finish it off I did a coat of Americana Decor Creme Wax which I applied with a brush...


We let everything dry over night and the next morning I cleaned out all the drawers really well and I actually added a little lavender oil to each drawer because it eliminates any lingering smell of paint!  Next I added all the new hardware and some decorations!  I couldn't be more happy with how it turned out and how perfect it fits in the space!


(How amazing is this arrow?!)


(Knobs/Pulls: Hobby Lobby)


(Arrow: Hobby Lobby, Metal Tray: Hobby Lobby, Dishes: Pottery Barn, Pitcher: Target, Flowers: Hobby Lobby, Candle Stick: Hobby Lobby, Sign: Etsy, Wax Melter: Target, Lamp: Target)


Thanks for reading! Hope you guys like it!